Most motorists don’t know how to drift a car. You can’t blame them. Drifting requires the driver to deliberately over-steer and lose their tires’ traction while tactfully keeping their vehicle under control. That’s a feat only the most skillful drivers can achieve.
But despite the cacophony of screeched tires and smell of burnt rubber, drifting is extremely fun. The rush of adrenaline it sends through the body of the person sitting behind the wheel makes hours of practice that one has to put in to master this sport worth it.
Before You Start Drifting

Here’s what you need to do:
Select the car
Although you can use any car to implement a drift, experts recommend choosing one that has good drifting attributes (with 4-wheel or rear-wheel drive), or one you’re comfortable with and whose mechanics complement drifting. Here’s what that means.
The best cars for drifting are those with a low center of gravity. Their closer position to the ground allows them to rotate around their axis at higher speeds easily. It also gives them more agility around the turn and makes it easy for the driver to pull the drift off.
Select the drifting technique
There are two techniques using which you can initiate a drift:
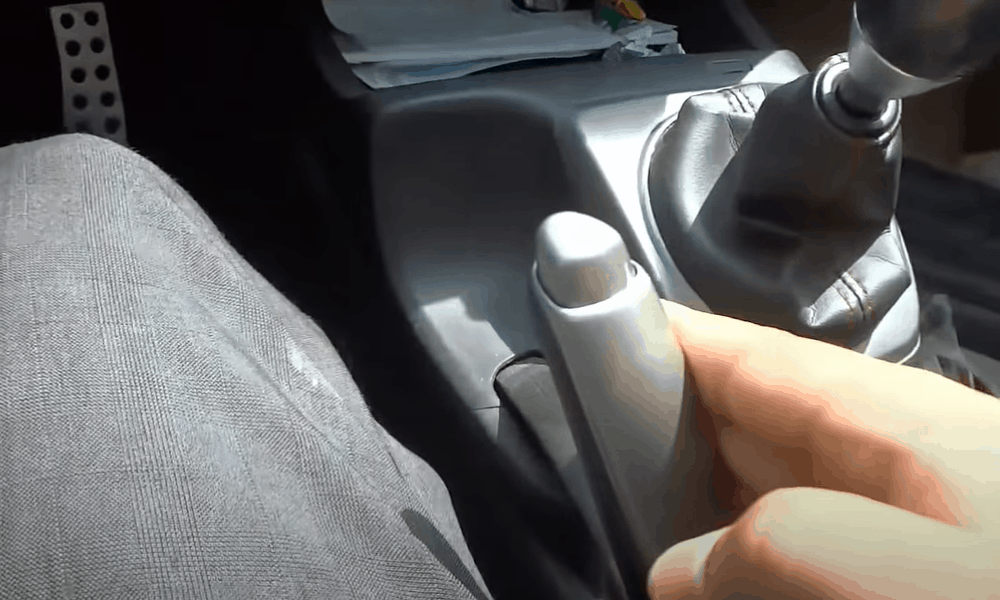
- Clutch-based
Here’s how this technique works. It requires the driver to press the clutch and shift to second gear as the turn is approaching. The driver then has to rev the engine up to 4.5RPM before releasing the clutch to inject the engine with a huge surge of power.
That initiates what the pros refer to as ‘power dump’ – in which the wheels’ fast spinning motion causes them to lose their traction and the car’s rear end to swing into a turn. The driver will then pull up the emergency brake to lock the back wheels, thereby initiating a clutch-based drift.
- Brake-based
This technique’s first few steps are the same as that of the clutch-based technique. The differences begin after the driver has entered into a turn and pulled back the emergency brakes, causing the rear wheels to move up and lose their contact with the surface.
Instead of leaving the car there, the driver then has to use a combination of shifting and braking. This will allow them to extend the duration of the drift without locking up the rear wheels. That’s the reason why brake-based drifts last longer than their clutch-based counterparts.
Select a practice area
In contrast to what they show in Hollywood, drifting should never be done on busy roads. It should be practiced and performed as far away from pedestrians, near buildings, poles, or roadside walls as possible. The best practice areas for drifting are those that are deserted.
Go online and search the internet for racetracks in your neighborhood. Contact their owners to book a time where you’ll have the track only to yourself. Otherwise, look for an empty parking lot and polish your drifting skills around a barrel.
How to drift a car?
Follow these steps to drift a car:
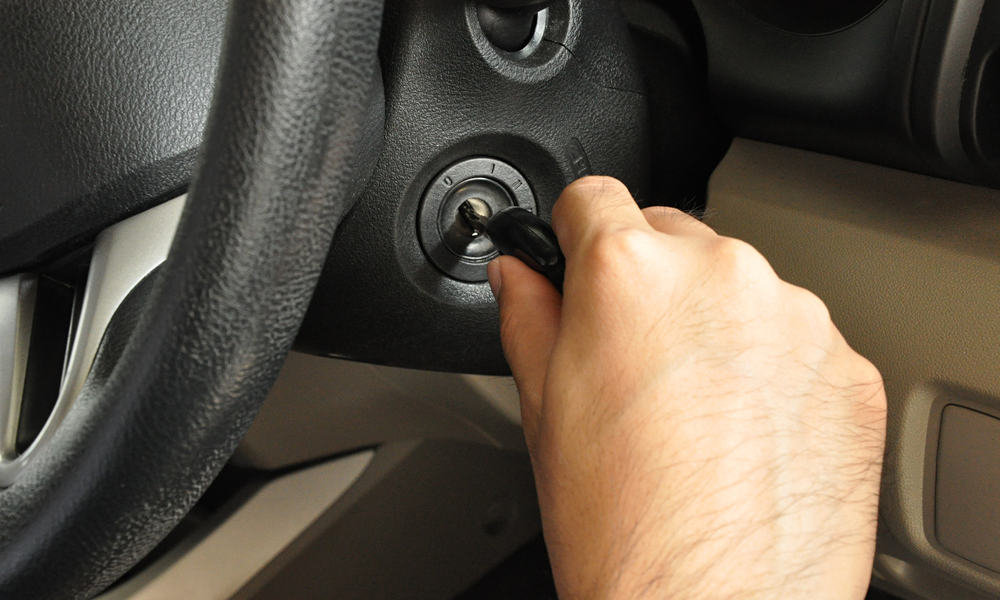
Drifting a manual car
Here’s how you can drift a manual transmission car:
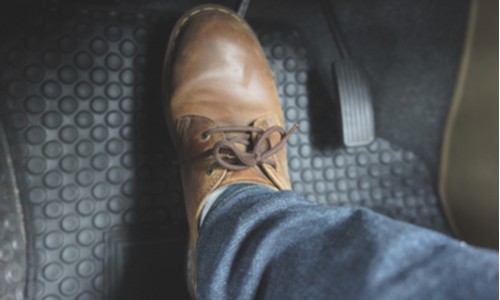
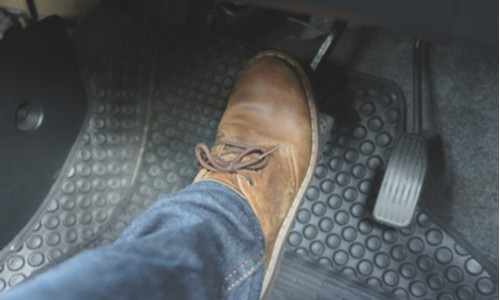
Step 1: Approach the turn at 30mph

Aim your car at the inside edge of the turn. Put it into second gear and press the accelerator to increase its speed up to 30mph and RPMs up to 3,000.
Stick as close to the mentioned speed limit as possible. Driving too fast may cause you to lose control over the vehicle, whereas going too slow won’t allow you to initiate a drift at all.
Step 2: Aim toward the turn

Turn the car as you usually do when rounding a corner. Continue pressing the pedal at about 80% and steer toward the road’s direction as you enter the turn. As you do this, your car will initiate a drift.
Step 3: Keep the drift going

After a few seconds of initiating the drift, you may notice it starting to lose steam. This will happen because of the back wheels regaining their traction.
Prevent this from happening by pressing down the clutch and quickly releasing it. Repeat this a few times and you’ll be able to keep the drift going without slowing down your vehicle.
Final Step: Straighten out your car

Once you have rounded the bend, it’s time to turn the steering wheel in the opposite direction – away from the near side of the road. You’ll be doing this to correct its course.
In the meantime, don’t take your foot off the gas pedal. This will ensure that the car doesn’t spin out of control.
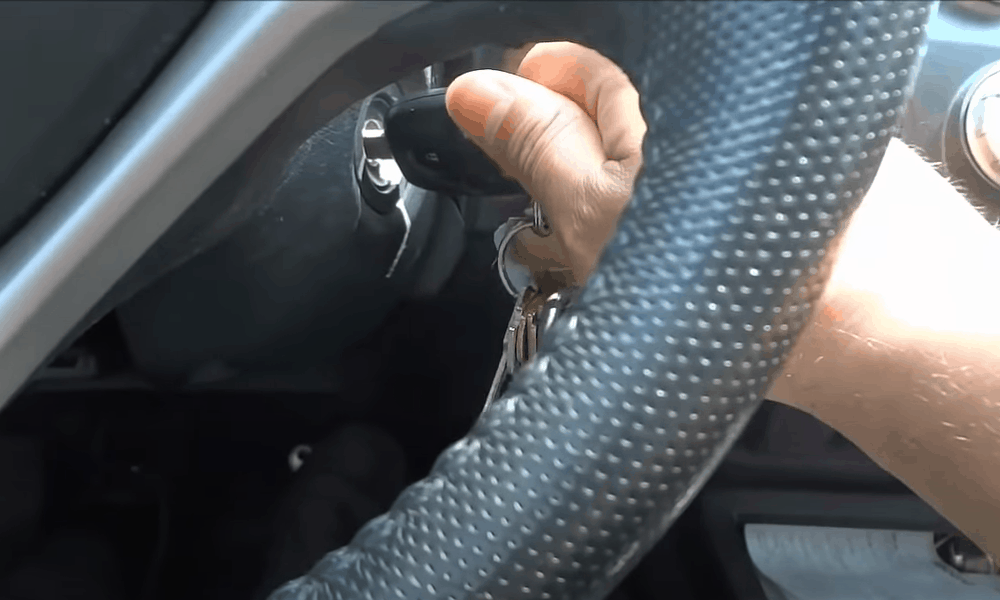
Drifting an automatic car
Here’s how you can drift an automatic transmission car:
Step 1: Approach the turn at 30mph

Most automatic car owners might think of this speed as too low, but it is more than enough to let you drift around the bend without losing control over the vehicle.
As you’re increasing the car’s speed, put it into 2nd gear using the gear shift. Keep an eye on the tachymeter and ensure that the RPMs are at 3,000 when you reach the recommended speed.
Step 2: Flick the steering wheel

Provided you have enough room on the road, take the car to the road’s outer edge and then drift towards its inside edge. Here’s why we’re recommending this.
Drifting in from outside will give you plenty of space to round the curve by a slight turn of the wheels. Turn the steering wheel in the opposite direction as you reach the turn.
Step 3: Use handbrake and clutch

Pull the handbrake and simultaneously press the clutch down hard. This will cause the rear wheels to lose their traction with the road, forcing the car to slide.
Step 4: Accelerate the car

As the car continues to slide, take your hand off the handbrake. Press down the accelerator hard and release the clutch at the same moment.
This action will supply extra power to the wheels, consequently letting you round the turn with ease.
Step 5: Maintain the speed

Keep the car going straight until you’re halfway through the turn, before turning the steering wheel in the direction you want to go – that is the inner edge of the turn.
What you’re doing here is trying to balance the car’s direction and balance simultaneously. It’s therefore crucial that you don’t take your foot off the accelerator while doing so.
Final Step: Straighten the car

Once you’re done drifting and it’s time to straighten the car, turn the steering wheel in the opposite direction. Don’t take your foot off the accelerator as it will end the drift too early.
Once you’re sure that the slide has ended, take your foot off the gas and drive away.
Conclusion
Whether you own a manual or an automatic transmission vehicle, our guide on how to drift a car has got you covered. Make sure that the road track you’re practicing on is deserted and without any obstructions. It will be best if it is wet or even damp. That is because slightly slippery roads make it easy for beginners to learn the ropes of drifting.
The post 6 Easy Steps to Drift a Car (Manual & Automatic) appeared first on Smart Motorist.
source https://www.smartmotorist.com/how-to-drift-a-car